Monday, April 15, 2013

Those teeny, tiny flower dies!

Oh my!  I just fell in love with IO's Spiral Flowers die!  This 5-die set makes the cutest little flowers ever!  Here's a sample of 3 cards I'll be doing for my Die of the Month class for Kept Creations on May 3rd.  Each month I introduce a new die or dies and show the ladies different ways in which to use them (refer to my Mustaches dies post HERE).

To give you an idea of how tiny these flowers are, I placed one on the head of Abraham Lincoln on a penny.  Take a peek!  Isn't that a scream?


This first card I combined some Art Impressions stamps to create a wreath and then shaped my flowers to decorate the wreath.  I used a Spellbinder die for the card base and topped the look off with a tiny 1" bow made on the Craft-Dee BowZ to complete the look.  A tiny bit of Stickles was added to make it shimmer a bit.


This next card was made using IO's Shake Its windows.  I created my own colored cardstock for the flowers by using different Memento inks and blending them onto the cardstock.  I then die cut the flowers, rolled them and placed them inside the Shake Its windows.  Before sealing it up, I added some Prills (gotta love them!!!) and a bit of glitter which is a little hard to see in this photo).

Then, to encourage my student s to get more out of their dies in an unconventional way, I simply die cut the spiral flowers and glued them down flat onto the same colored card stock giving it an embossed look.  I added Dimensional Pearls to the centers and the sentiment is backed with Washi Tape then tapped it all with my dots stamp.


Here's another card I did just for the heck of it.  I used this lovely Lattice Background die by Spellbinders on a 4-1/4" square card, added my tiny flowers and some extra leaves (Memory Box) and some Viva Pearl Pen for accents and it was done.


And here's a close-up of the flowers.  So adorable and so many possibilities!


Well I hope you've enjoyed this post and I'd love to hear from you.  Even better, I'd love to see some of you at this class.  We do have lots of fun with dies!

Ciao for now!

Ciao Bella! 


Tuesday, April 2, 2013

On the map...

I picked up some old maps at Kept Creations and thought, now wouldn't these make a nice card?  So I set to work and it was just one of those cards that put itself together.  Why can't that happen all the time?  If I needed to create a card for a class, I'd be agonizing over it and making things just perfect.  A little OCD maybe?  LOL!  Well here's the result and I just thought I'd share.


I used Distress Inks to "weather" the map a bit and tore the edges.  I made the roses using an MFT die and 3 different Distress brown inks.  The leaves were also colored using Distress ink.  I just finished it off by curling some of the edges to add to the "used" look.

Hope you like it and feel free to leave comments.  I always love hearing from you.

Ciao for now!

Ciao Bella! 


Sunday, March 24, 2013

Altered paintbrush

A while back a friend had emailed me and said she'd seen a contest to alter a paintbrush and thought of me.  At that time I was over my head with projects so had to decline her suggestion.  Last week Kept Creations decided to do their own altered paintbrush event and since I had a small window of time available, I thought I'd give it a go.  Let me tell you how much fun it was!  These things take on a life form of their own once you get going.

So here's my version of an altered paintbrush and I'll give you the scoop on some of the things I used and how I did it.


Now ain't she adorable in a twisted sort of way? LOL!  Okay, maybe not.  Anyway, to give you a rundown on how she was put together, I first took portions of her "hair" and tied them with ribbons.  I covered the metal housing area of the paintbrush with neutral card stock, added a fringe of bangs to give it better balance and then started adding on.  Now her eyelashes and mouth will surprise you -- they are made from the mustache dies that I  showed on a previous post HERE.  Don't ask me how I even thought of that one!  I used the two smallest mustaches, one for her eyelashes and one for her mouth.  Her earrings are made from buttons threaded thru wire. 


Her skirt is made from a piece of a Washi sheet with lace added to the hem.  Th skirt was attached to the body by punching holes along the top of the skirt then ribbon was threaded thru the holes and tied in the back.  I added a little flower at the bottom of her hem for a little pizzaz.  


  Her arms are simply a twisted up piece of paper towel wrapped in fringed yarn.  This gal needed to stand up on her own, so I folded a piece of cardboard in half that was wide enough to fit under her skirt.  I cut a hole in the center of the fold and pushed the paintbrush thru the hole and she stood up perfectly!  But she needed shoes!  So I traced a small plastic spoon twice, cut it out of cardboard, colored it in red and added a jewel to the toe of each shoe. The "shoes" were attached underneath the folded cardboard with tacky glue giving her more stability for standing.  The final touch was a purse made from cardstock with jewels added for extra bling.

It's amazing what the mind can conjure up!  Well I had fun with this and just thought I'd share.  I understand our next challenge is a toilet paper roll.  Hmmm....?  I also suggested using the empty pods from the Keurig for another challenge.  That could be interesting as well.  I just hope I'm in a place and time to be able to participate in these challenges.  What fun!

That's all for today.  Ciao for now!

Ciao Bella! 

Tuesday, March 5, 2013

Window dies

Did you know that a window die can be rather flexible in how you use it?  I had the opportunity to teach a class recently using the Spellbinders Die D-Lites Window One.


I started with a card using this adorable die in the traditional fashion below:


This card is pretty straightforward - I used an embossing folder for the green layer, then pop dotted the window on top and punched some tiny flowers and leaves and added them as a window box element.

This next card combined the following dies:  several Spellbinders scalloped squares,  Sizzix flourish and leaf dies,  an MFT rose die,  the window die, and some Cheery Lynn corner dies for accent.  By cutting the bottoms off the window dies and placing them on a square card, this is the effect you achieve.  I know there's alot going on here, but this card just kept calling for more!  I did use two different embossing folders as well on the square layers.  And to top the whole effect off, I made a multiple loop bow using the Craft-Dee BowZ.  You might want to check out the Craft-Dee BowZ website as I have my Design Team post something new every week.  We will also be sponsoring another blog hop next month for your viewing pleasure - something light and spring-y!


Well I hope I've inspired you to use some of your dies in a non-traditional way.  I'm a firm believer of making my dies do more work for me a/k/a "more bang for your buck".

I'd love to hear what you think of these projects, so drop me a line, won't you?

Ciao for now!

Ciao Bella! 


Tuesday, February 26, 2013

The birthday boy...

Well we celebrated my son's birthday the other nite.  I can't tell you how old he is or he'll put the hit men out after me, but let's just say he made it over 40.  Ooops!  Did I say that?

The birthday boy decided we are going to start a new tradition in the family, namely, that stupid hat he's wearing!  Oh yes!  He's the first to wear it, his wife has a birthday in another week and then I follow in April and so on.  Don't look for pictures of me wearing that thing!

Anyway, here are a few photos I took.  The resolution isn't that good as it was taken with my iPad, but you'll get the idea.  First you'll notice how fetching Jeff (my son) is in his birthday hat and then I'd like you to focus on the birthday cake.  Hmm, maybe I'll send a copy of this to the Plymouth County Sheriff's office as a little blackmail.  I'm sure the other Deputy Sheriff's will have a good time with this one!


And now for the birthday cake or should I say the candle topper for it.  NONE of us knew what this thing was going to do and what a fun surprise it was.  The following photos will show you what I mean.


It's a tulip with tiny candles inside and obviously a wick that is not discernible until after it's lit.


This is what happens after the wick burns down!  All the petals open with the candles attached!  Is that not a riot?

Before you can ask, my daughter-in-law got this candle topper at Christmas Tree Shoppes.  A dollar gave us all a great surprise.  Oh, it also sings happy birthday while burning a hole in your ceiling (just kidding about the hole) and is not reusable.  Awww! 

Ciao for now!  Hope you enjoyed the post.

Ciao Bella! 


Tuesday, February 12, 2013

What's the big deal about mustaches?

Have you seen the rage with all the pre-teens?  It's mustaches and (get ready for this...) Bacon!  Yep, this is the craze right now and no one can figure out why.  My granddaughter is smack dab in the middle of this craze and her Aunt and I purchased bacon jewelry, mustache jewelry -- you name it, we got it for her for Christmas.  She was a happy little 9 year old.

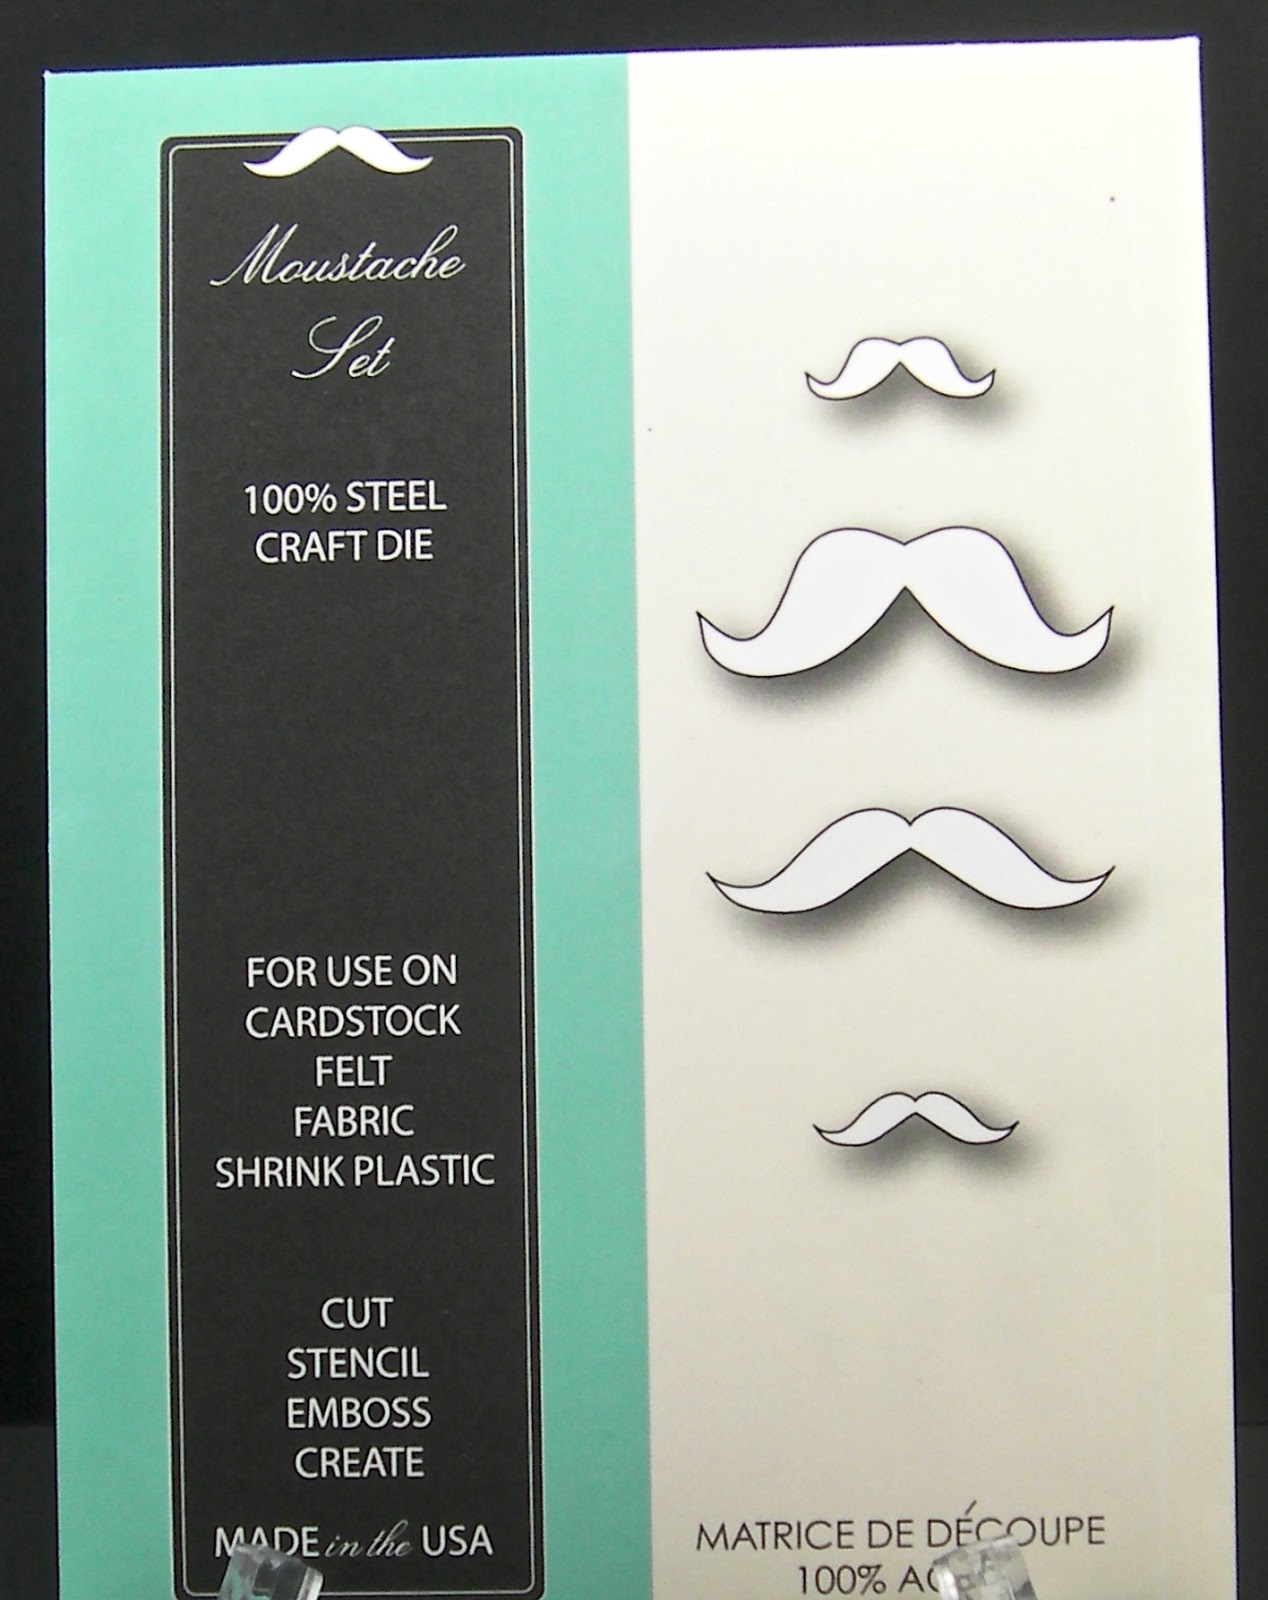
What has this got to do with card making?  Well, believe it or not, Memory Box came out with a mustache die set.  I passed it by several times -- I even gave it a thumbs down it when Kim at Kept Creations suggested I work with it.  So a month goes by and suddenly I walked by the die on the rack and an idea popped into my head.  Uh, oh!

So let me show you a series of cards that I made with this little set.  I must admit, I had a lot of fun playing with it and I am planning on creating more with it.

Here's the die I am talking about:


And here's a very traditional card using the die in the way I assume it was meant to be used (chuckle!)...


So, the wheels started turning and this was my second card...


Yes, those are mustaches turned upside down and with a swipe of a black copic marker, we now have a flower!  And make note that the bow was made on the Craft-Dee BowZ.

And lastly, another non-traditional card using the mustaches...


Warning:  do not travel on my highway -- you never know where it leads and there are no road signs!

Well I hope you enjoyed seeing these as much as I enjoyed creating them!  I'm off to dream up some more mustache stuff!  Ciao for now!

Ciao Bella! 


Wednesday, January 30, 2013

I'm just playing...

Heck!  if you knew how good it is to say "I'm just playing"!  I rarely get to create cards just for the fun of it.  They are usually for a class either at the store or online, not to mention how busy Craft-Dee BowZ keeps me.  So this is a treat!

I have this 'thing' about clocks, watches, etc.  So when this set came out by Papertrey Ink, I HAD to have it!  I have a wonderful  collection of antique keys, clocks, clock hands and pieces,  and watches (I don't have enough arm space to wear them all!)  I have some other ideas I want to try using this set, but now my classes and Craft-Dee BowZ are calling once again.  But I thought I'd share the card with you anyway.


The background is stamped using Memento Gray Flannel and stamped off once before applying to card.  The clock face, of course, is die cut.  I chose to use some Roman numerals and dots for the other numbers.  After die cutting the hands I then embossed them with some of the new Piccolo powders.  The black piece at the bottom is the negative of the border die (see inside picture) -- it just seemed to fit.


Then the inside is pretty straightforward.  This is one of the new Sizzix border dies (4 different dies in one set) that I have fallen in love with (oh, surprise!).  A simple card done at my leisure and for absolutely no reason in the world!  One never knows when an emergency birthday card will be needed.

Hope you enjoyed - ciao for now!

Ciao Bella!